How to Powerwash (Restore) A Chromebook
Do you have a Chromebook that's turning off on its own, having sound issues, running slower than you'd expect, or just acting oddly?
These behaviours (like any other issues) aren't common, but they can be scary and frustrating when they occur.
In some cases, resetting a Chromebook back to factory settings (also called a restore or a Powerwash) may be necessary to resolve your issue. Due to the simple nature of ChromeOS devices, performing a Powerwash should just take a few button presses, a few clicks, and a 2-3 minutes of your time.
Note: Performing a Powerwash will erase the Chromebook's local storage. You should already be storing all of your content online in Google Drive, but if you have any content in your Chromebook's Downloads folder or Files area, make sure to move this content to Google Drive before performing a Powerwash.
First, the keyboard command:
Hold Escape, Refresh (where F3 would be on a standard keyboard), and Power at the same time. If powered on, the device will turn off.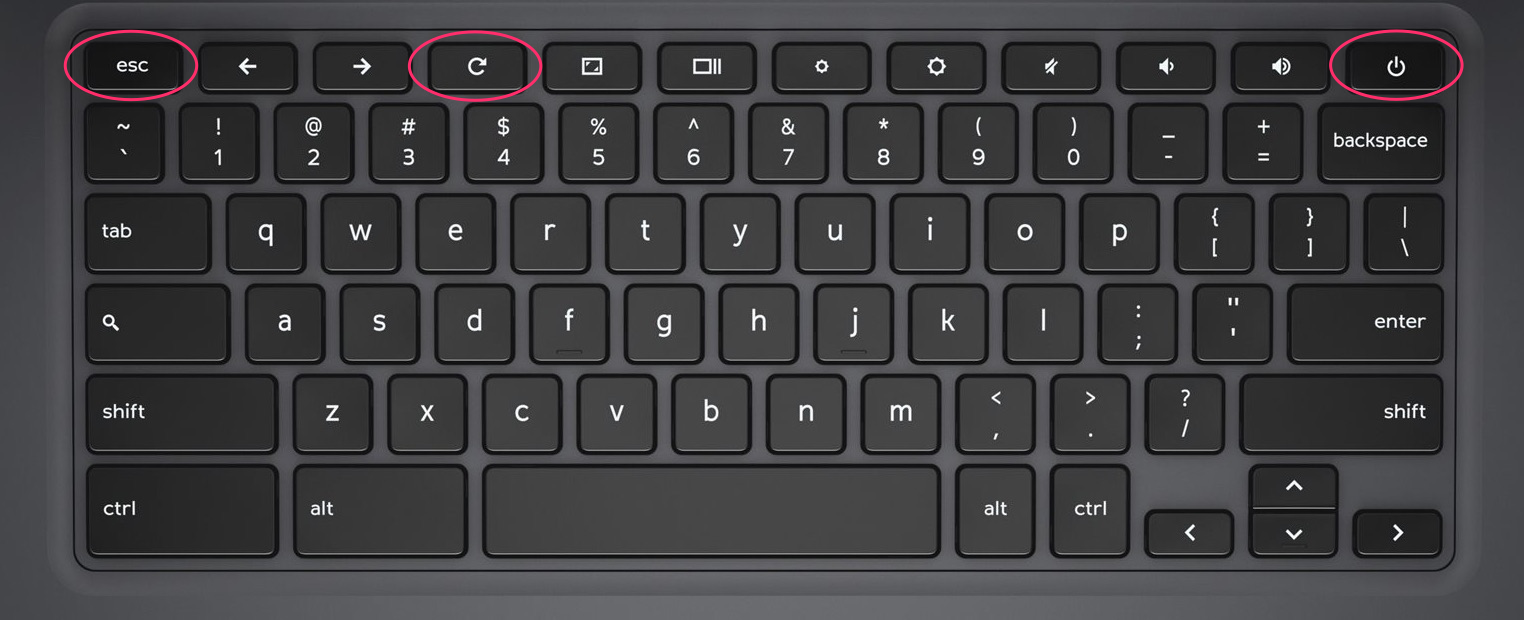
Your next steps will be slightly different depending on your Chromebook, so follow the appropriate steps below!
If your screen says "Please insert a recovery USB stick or SD card.":
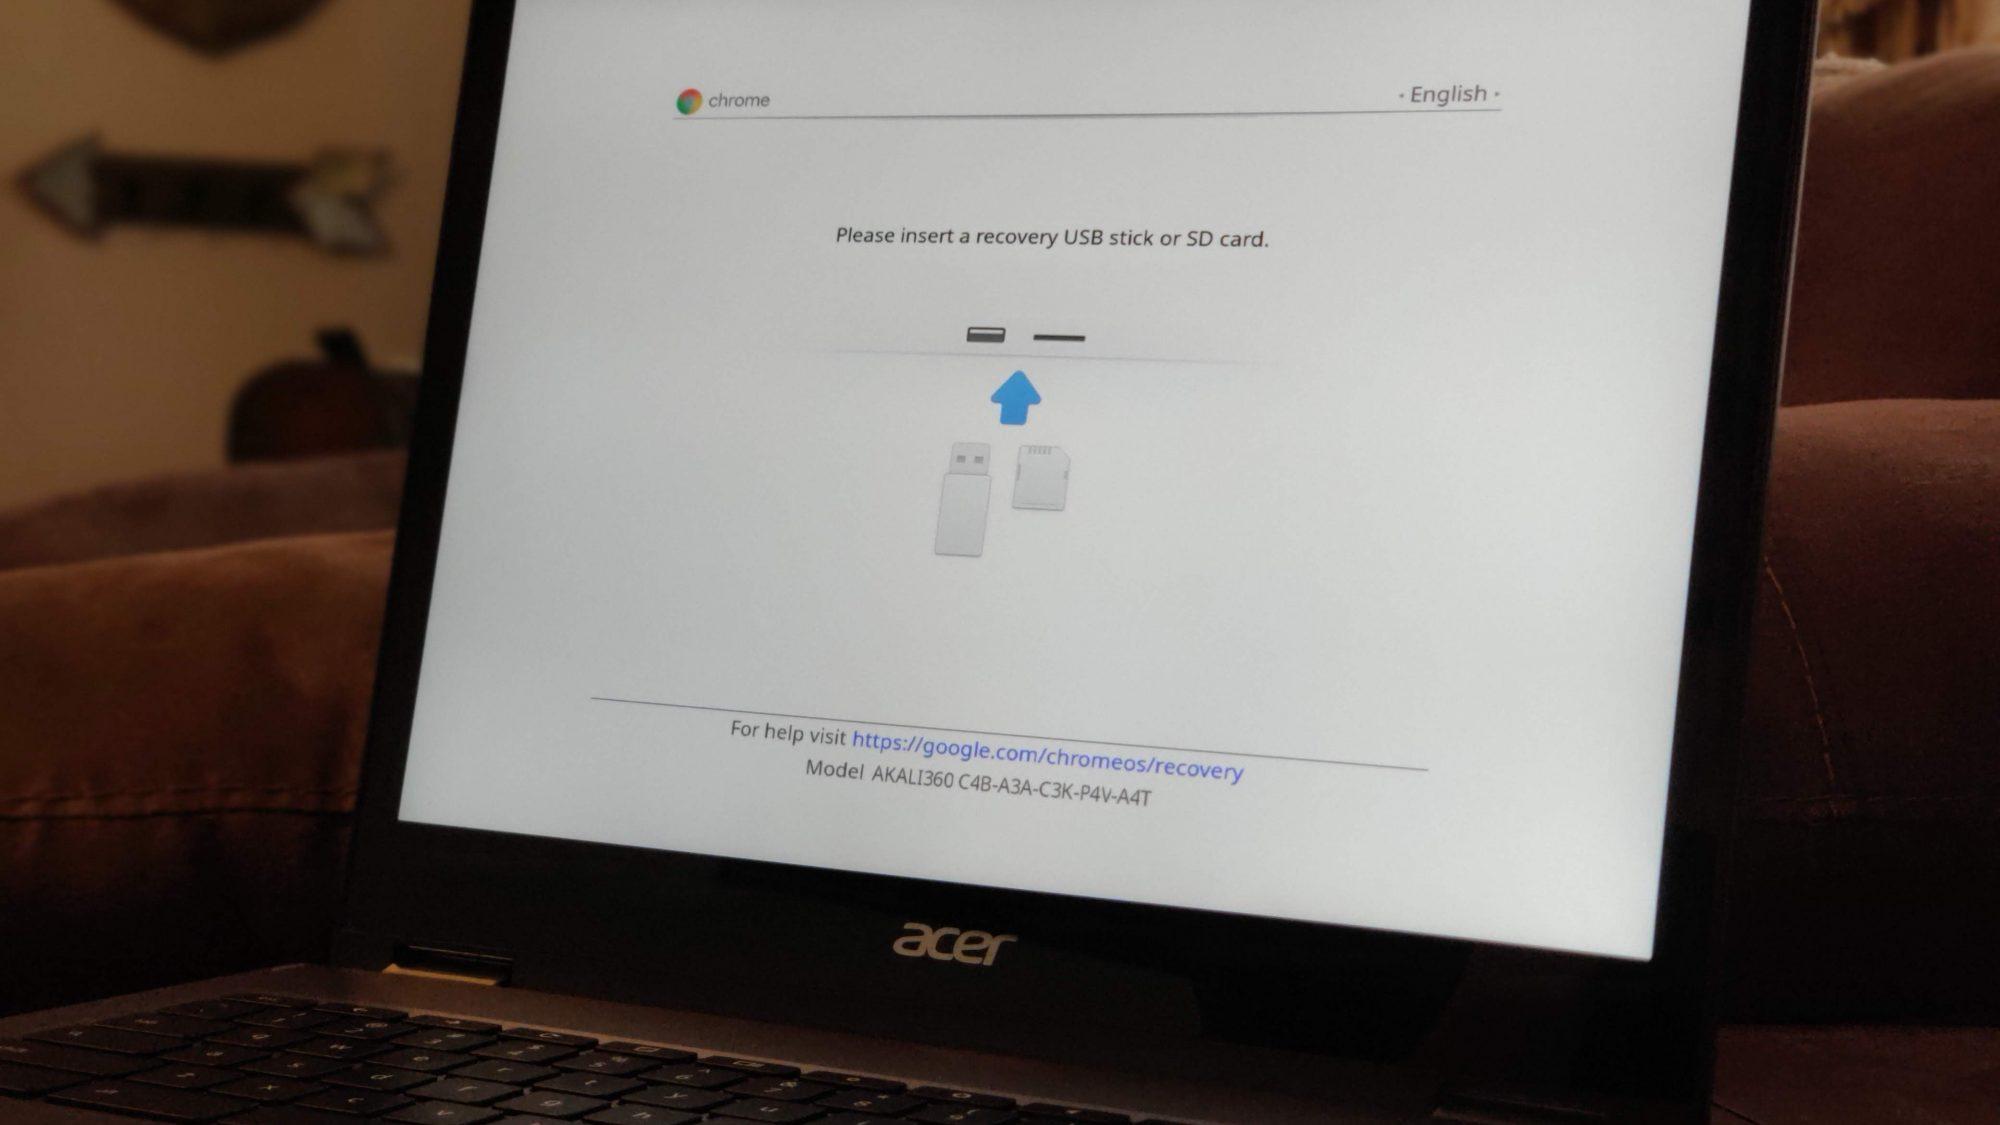
- Once you see the above screen, hold the CTRL key at the bottom left of the keyboard and press D.

- You should see a message that says "To turn OS verification OFF, press Enter"
- Press Enter.
- Your Chromebook should reboot, and a new message will say "Press ENTER to confirm you wish to turn OS verification on."
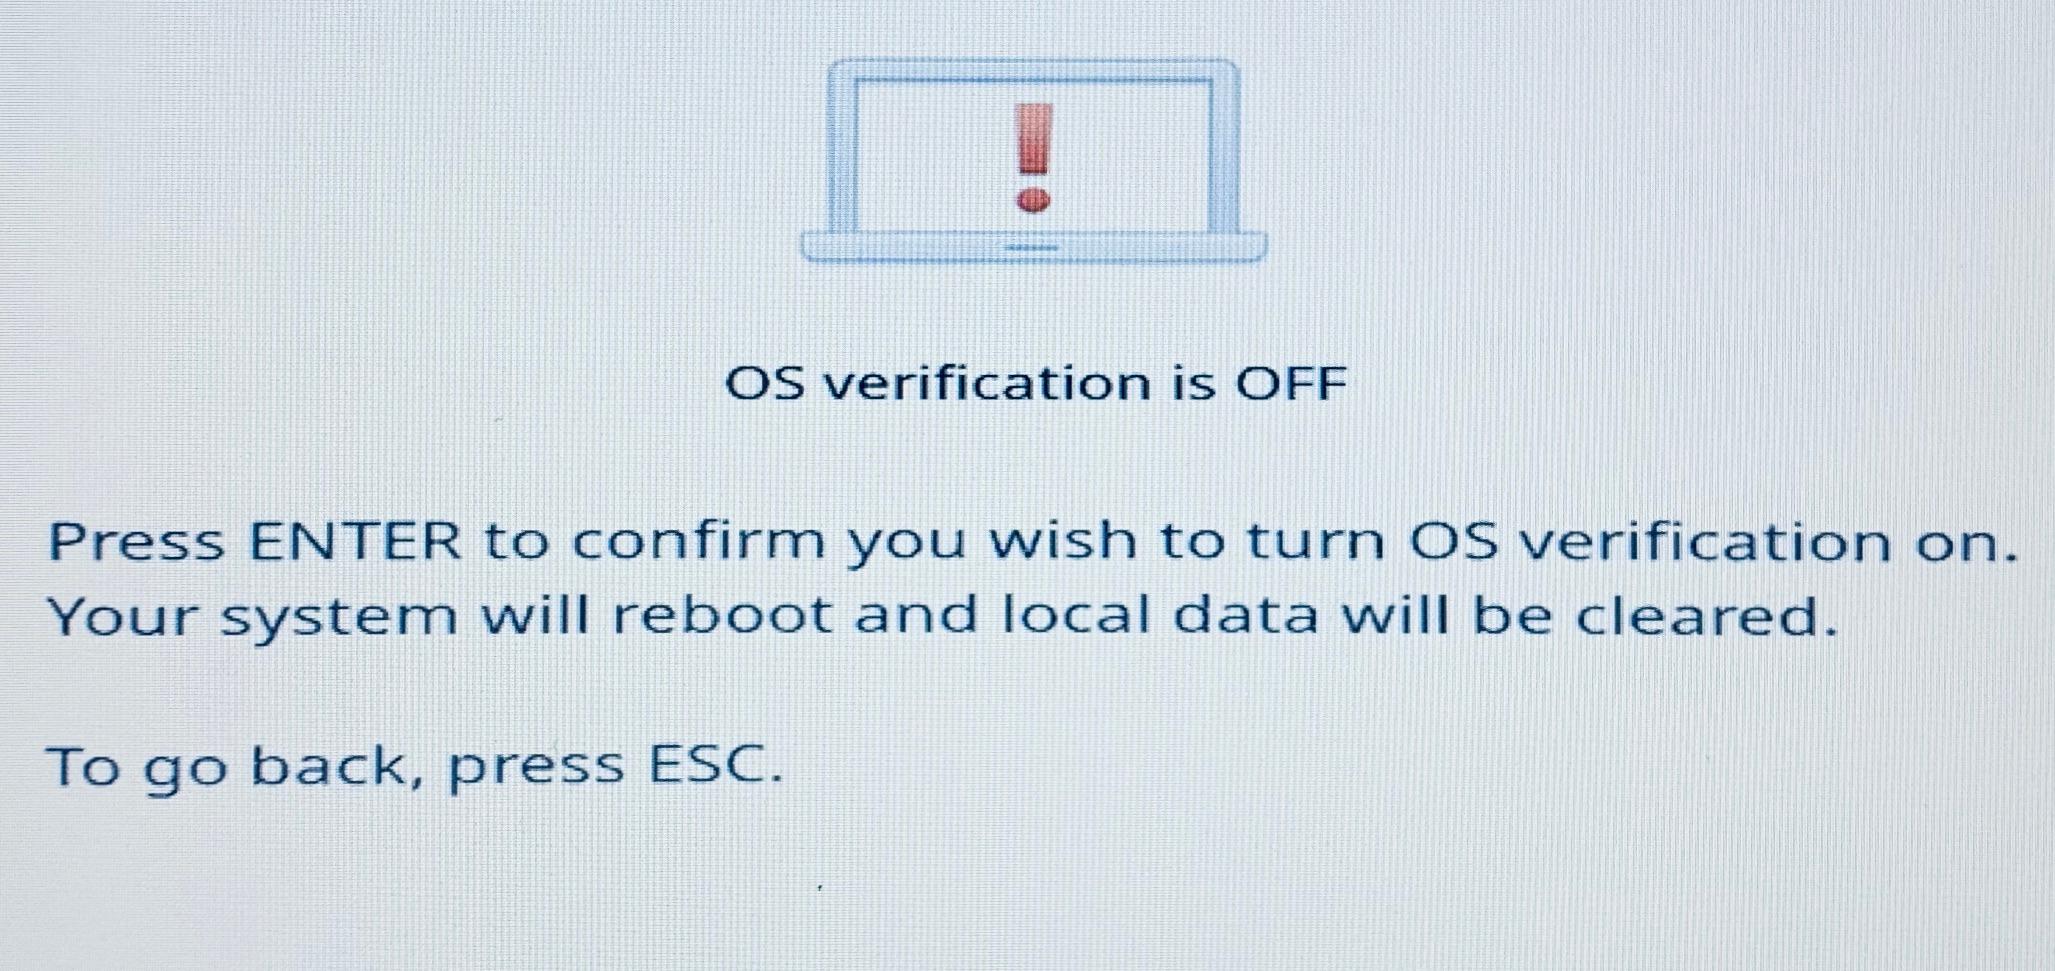
- Press Enter.
- After a few seconds, the Chromebook will restart back to its welcome screen.
- Click through the prompts and you'll be asked to connect to Wi-Fi. Choose the appropriate Wi-Fi network (Staff or Student, depending on who uses the device) and enter the password.
- The Chromebook should then automatically re-enrol itself into Google's management system, and you're done!


If your screen says "Let's step you through the recovery process.":
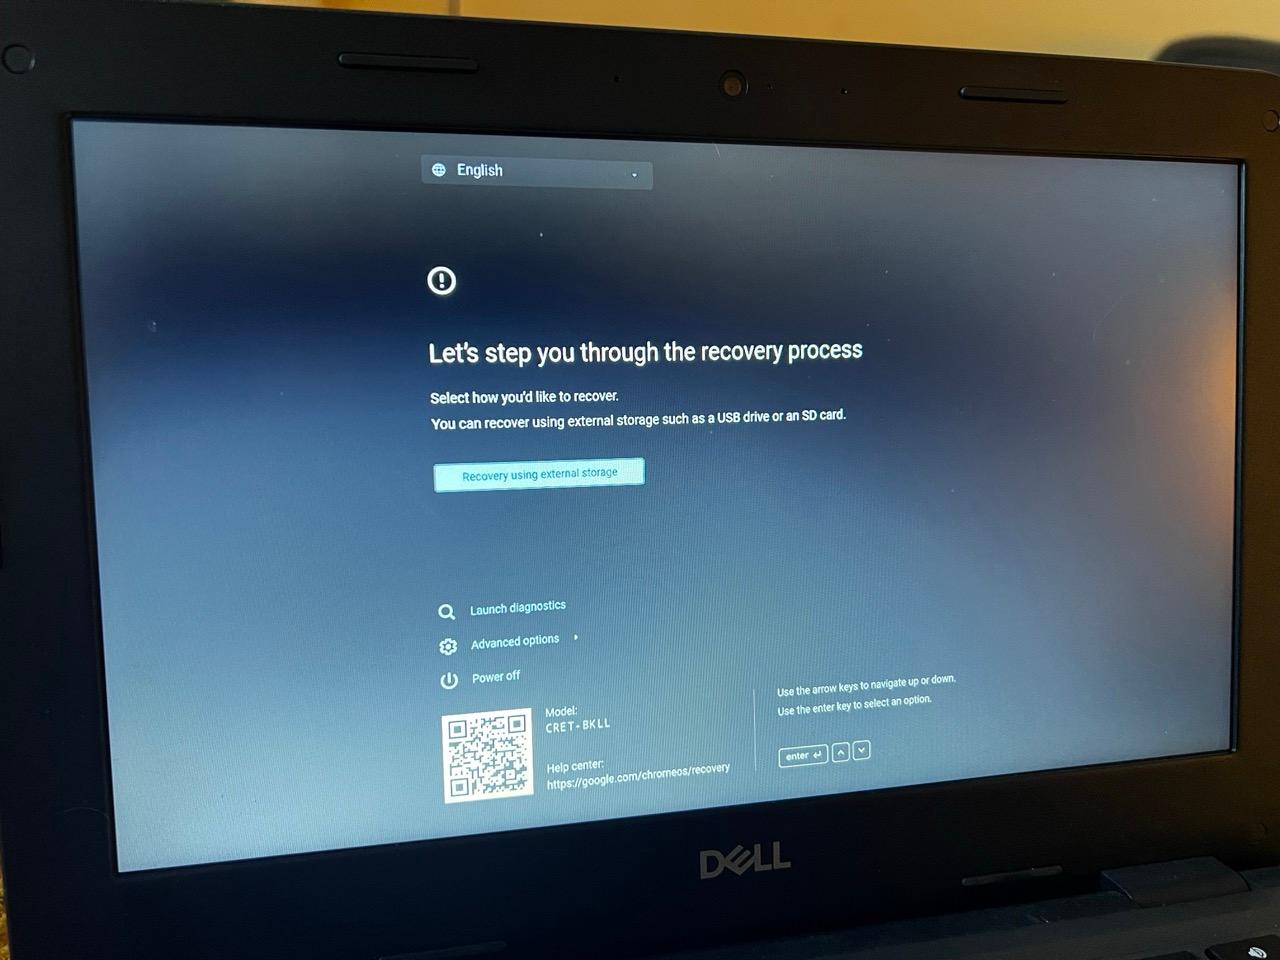
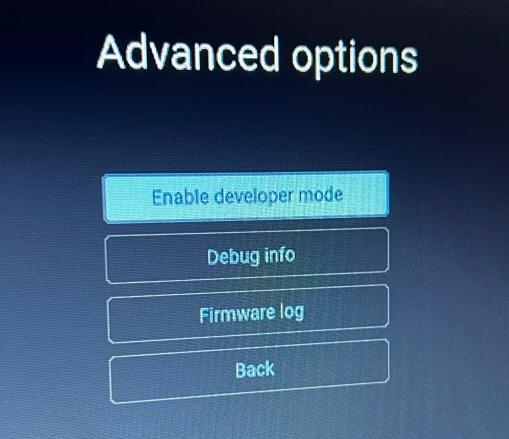
- Once you see the above screen, hit the Down Arrow twice to highlight Advanced Options, and then press Enter.
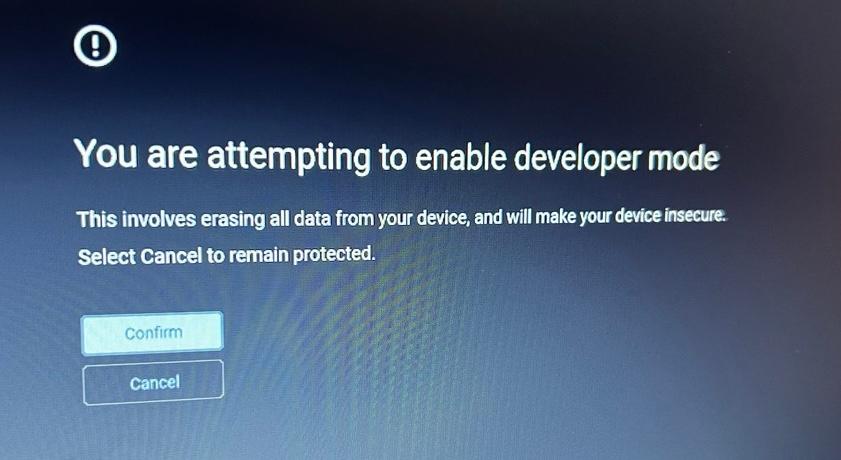
- On the next screen, Enable Developer Mode should be highlighted by default. Press Enter.
- On the next screen, Confirm should be highlighted by default. Press Enter.
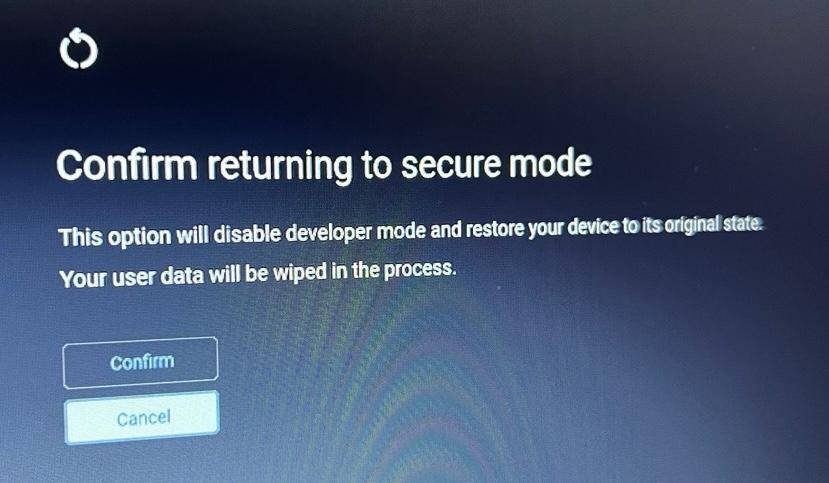
- The Chromebook will power off and reboot to a screen that says Confirm returning to secure mode. Press the Up Arrow to highlight Confirm, and then press Enter.
- After a few seconds, the Chromebook will restart and return to its welcome screen.
- Click through the prompts and you'll be asked to connect to Wi-Fi. Choose the appropriate Wi-Fi network (Staff or Student, depending on who uses the device) and enter the network's password.
- The Chromebook should then automatically re-enrol itself into Google's management system, and you're done!


You're all finished! If your issue isn't resolved, or if you're having trouble performing the Powerwash, submit a support request and let us know!