Troubleshooting Captive (Splash Page) Wi-Fi Networks on Various Devices
We've all been there — You sit down at your favourite Starbucks or check-in to your hotel at the start of your long-awaited vacation.
Naturally, there are some things that you want to catch up on, be it finishing up some emails or catching that hot new Netflix original. You connect to the local Wi-Fi, open up your web browser, and then... nothing ever loads.
Many public Wi-Fi networks are also 'captive' networks. Once you connect to a captive network, your device should load a splash page — here, you may need to provide login credentials, enter your email, or simply agree to the network's Terms of Service before you'll be able to load any other pages.

If for whatever reason the splash page doesn't load automatically (or you accidentally hit the 'cancel' button on the page that does load), it can feel almost impossible to get online.
Luckily, there's an easy way to force a captive Wi-Fi network splash page to load. Read on to find out how!
How to force a captive Wi-Fi network splash page on an Apple device:
- Ensure that your device shows that it's connected to the desired Wi-Fi network (by clicking on the Wi-Fi symbol in your menu bar on a Mac, or by heading to Settings > Wi-Fi on an iPad or iPhone).
- Open a web browser.
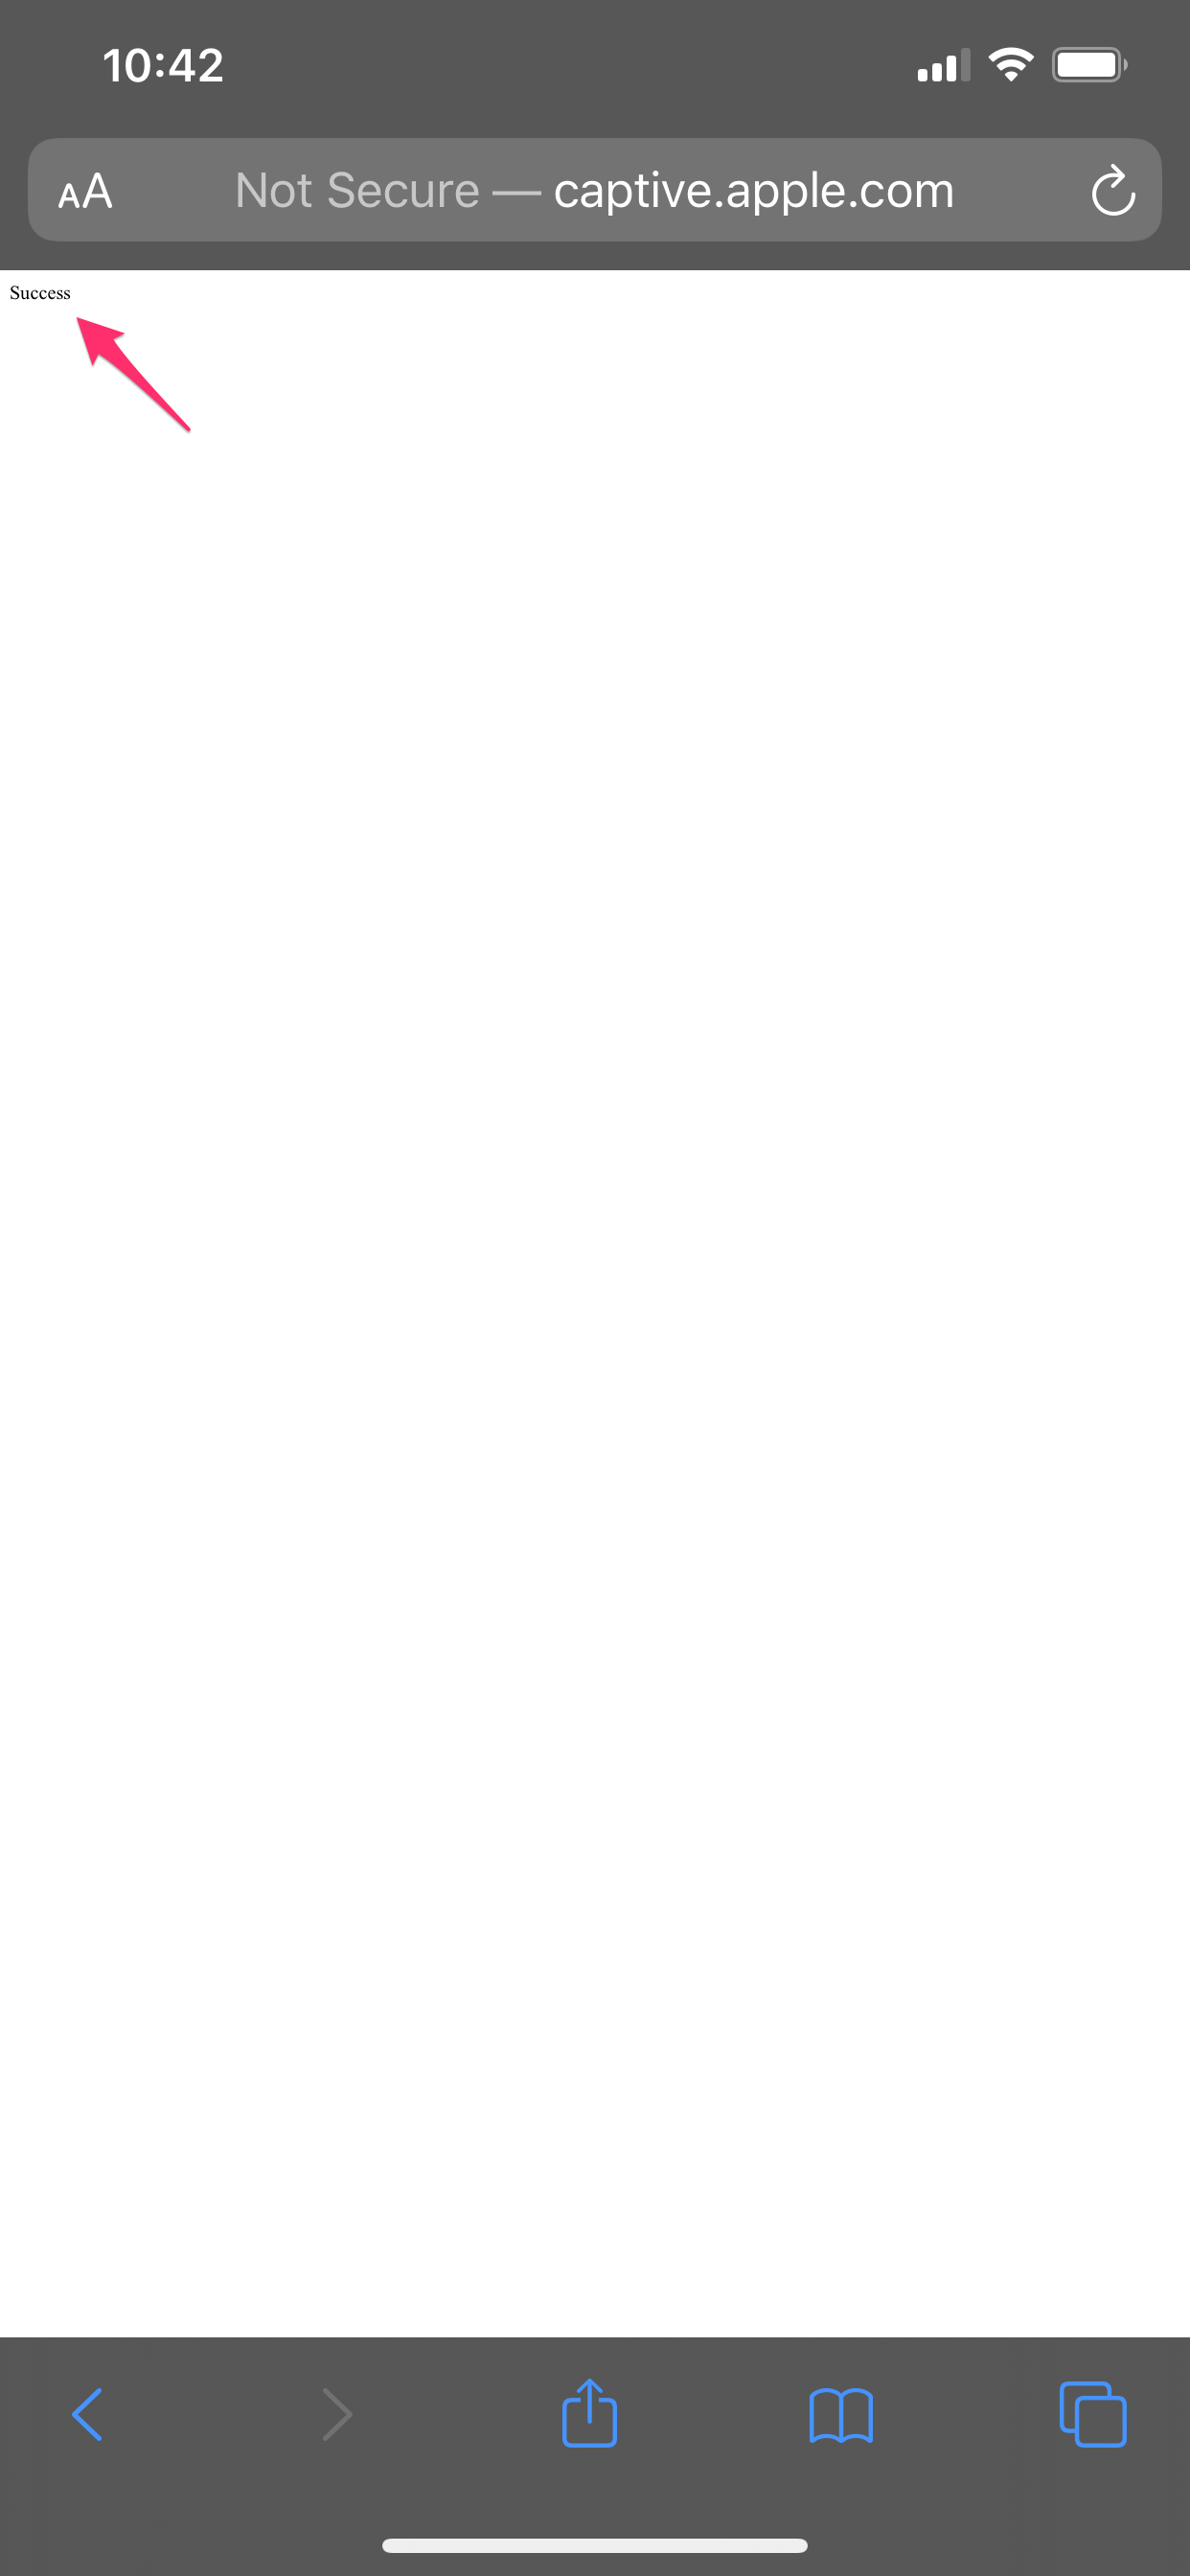
- Navigate to captive.apple.com
- If don't already have internet access, the splash page should load. If you do already have internet access, you're already done — your browser should load a white page that says 'Success' in small letters in the upper left portion of your screen.
- Fill out the requested information on the splash page to gain internet access.

How to force a captive Wi-Fi network on a ChromeOS or Windows device:
- Ensure that your device shows that it's connected to the desired Wi-Fi network (on either Windows or ChromeOS you can confirm this by clicking on the Wi-Fi symbol located in the system tray area).

- Open your web browser.
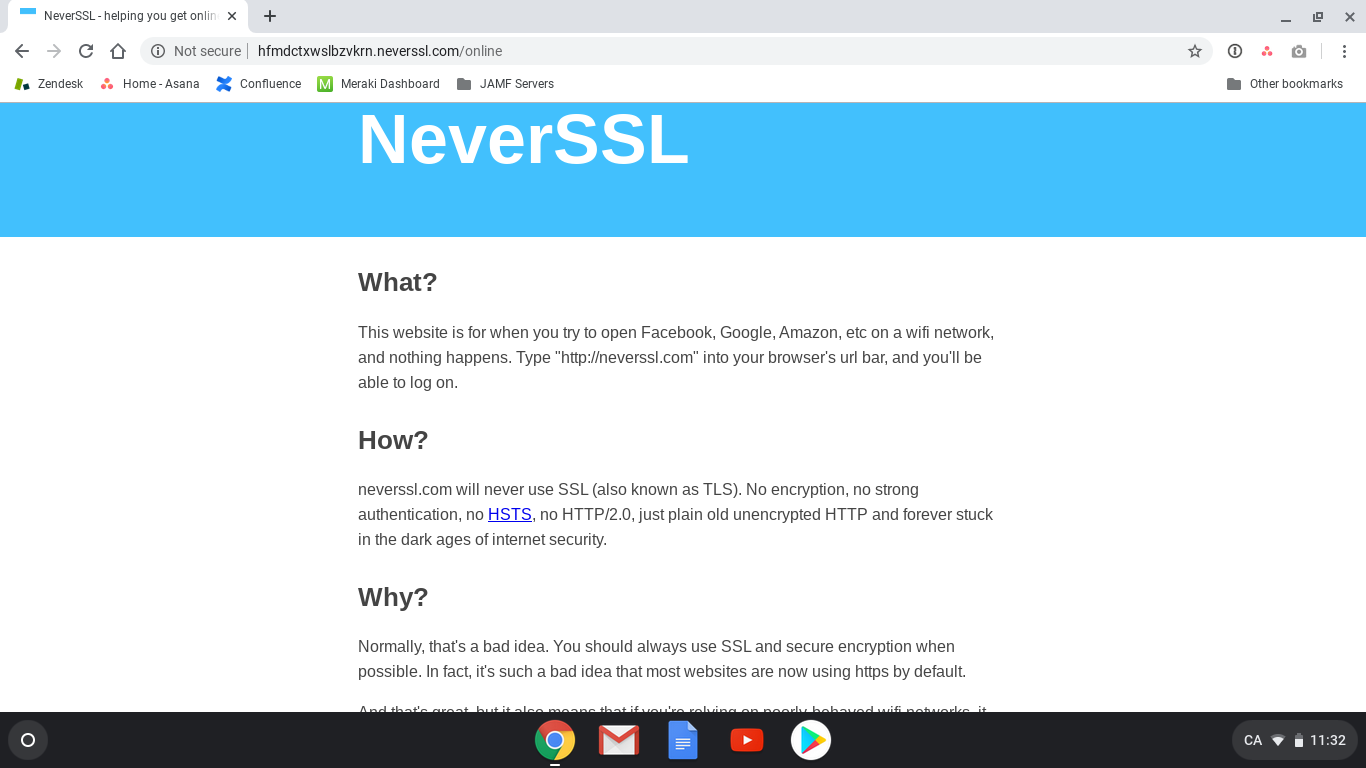
- Navigate to neverssl.com
- If don't already have internet access, the splash page should load. If you do already have internet access, you're already done — your browser should load the NeverSSL website which offers some fun facts as to why NeverSSL exists, and why it works!
- Fill out the requested information on the splash page to gain internet access.


How to force a captive Wi-Fi network on an Android Device:
When connecting to a captive Wi-Fi network on certain Android devices, you may receive a notification instead of loading to the splash page directly.
This notification will appear in the device's Notification Panel, which you can access simply by swiping down from the top of your display.

image via: intraway.com
If you don't see the appropriate notification in your Notification Panel, try the following in order to force the captive network splash page:
- Ensure that your device shows that it's connected to the desired Wi-Fi network (you can confirm this by heading to your phone's settings app, and then tapping Network & Internet > Wi-Fi)
- Open your web browser.
- Navigate to neverssl.com
- If don't already have internet access, the splash page should load. If you do already have internet access, you're already done — your browser should load the NeverSSL website which offers some fun facts as to why NeverSSL exists, and why it works.
More Resources:
- Google Support — Connect to Wi-Fi Networks on your Android Device
- Google Support — Connect your Chromebook to Wi-Fi
- Microsoft Support — Connect to a Wi-Fi Network in Windows 10
- Apple Support — How to connect to the Internet with your Mac
- Apple Support — Connect to Wi-Fi on your iPhone, iPad, or iPod touch
- Apple Support — If your iPhone, iPad, or iPod touch won't connect to a Wi-Fi network