How To Update Avery 5066 Microsoft Word Templates
Have your class lists changed and you need to update your Avery labels? While this process should take just a moment and a handful of clicks, the steps can be easy to forget if you haven't done it in a while.
Here's how you can update your labels:
What you'll need:
- A .CSV file of your current grade-level class list with the headers 'First Name', 'Last Name', and 'Grade'. If you're working in Google Sheets, you can download a CSV file by opening the Sheet and choosing File > Download > Comma-separated values (.csv, current sheet)

- The Avery 5066 template .docx files. If you need them, you'll find templates for First Name, Last Name and First Name, Last Name, Grade attached to this article.

Step-by-step:
Note: These steps and screenshots are based on the First Name, Last Name, Grade template, but work for the First Name, Last Name template as well. You can also create CSV's with a variety of other fields, but we won't be covering that here.
- Find the template .docx and double-click on it. If you see a pop-up telling you that the data source cannot be found, choose Options > Remove Data/Header Source.

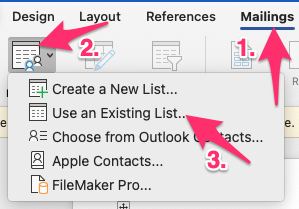
- Once the document is opened, head to the Mailings tab, and choose Select Recipients > Use Existing List. Then, choose your CSV file.
- Once your .CSV has been selected, choose Finish & Merge > Print Documents (still under the Mailings tab).
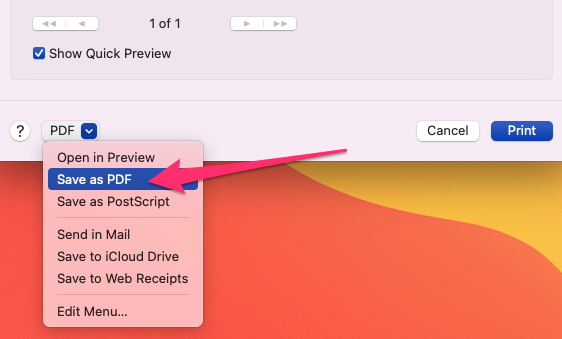
- Choose the appropriate settings for your printer and click Print. If you'll be printing these labels regularly, we'd suggest instead heading to the bottom-left corner of the print dialog and choosing PDF > Save As PDF.
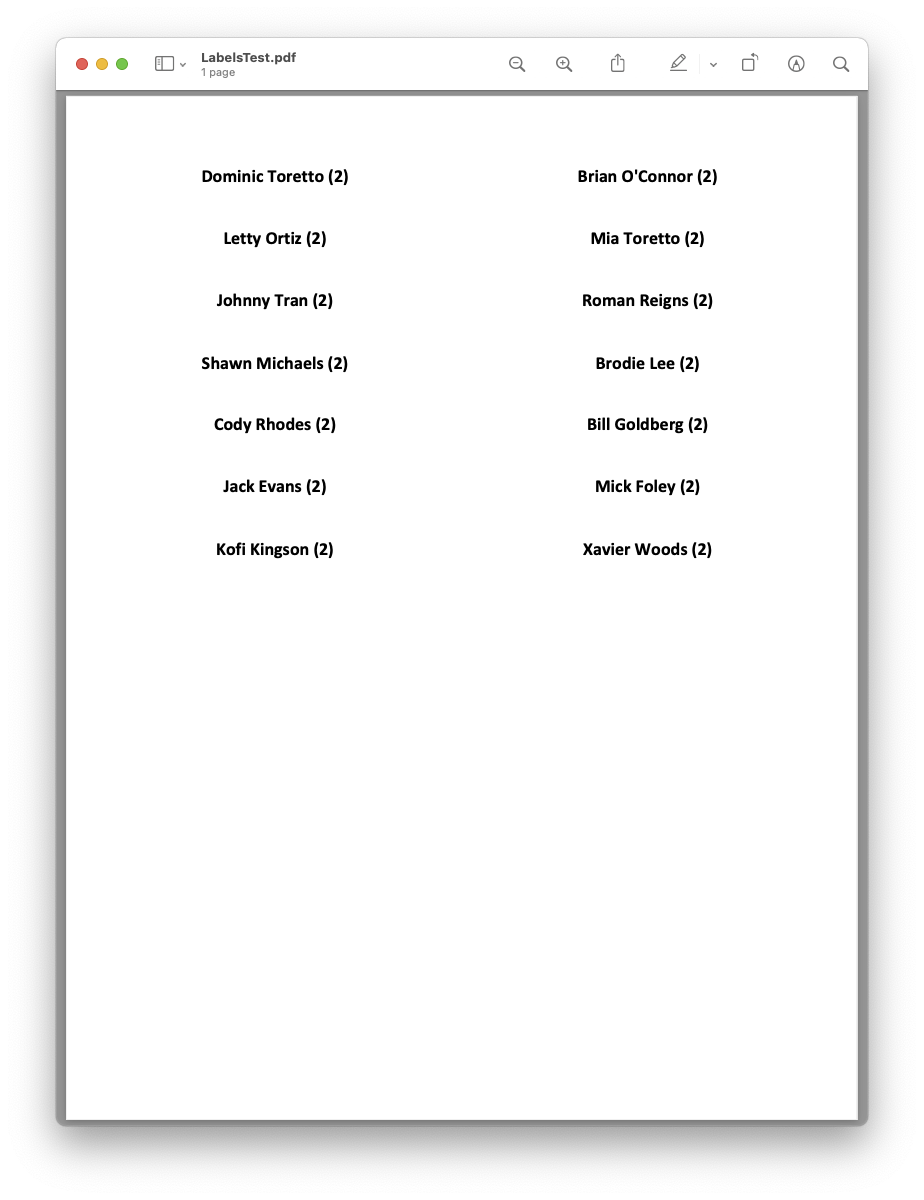
Save your PDF somewhere you'll be able to find it, and going forward you can just print the PDF directly vs. needing to go through Microsoft Word. Keep in mind, if your list changes you'll need to generate a new PDF by re-following the steps above. - You're done! Your labels (or PDF of labels) should be ready! If necessary, repeat for the next grade!