Scanning documents with your iPad
When moving your lesson plans and class resources to the digital world, you'll inevitably come across materials that only exist on paper. This article will help you find the best way to get your physical documents onto your iPad. Let's go paperless!
How to Scan using the built-in Files app for iPhone or iPad:
These instructions are applicable for iOS/iPad OS 13.0 and later
First-time setup
- To save your scanned documents to your Google Drive, first download the Google Drive app from Self Service and sign into your school account.
- Launch the Files app.
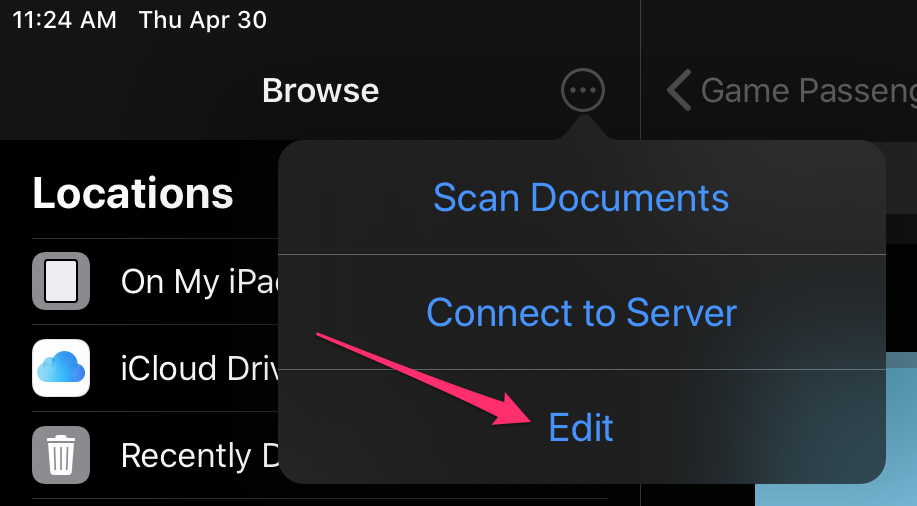
- Tap the ... icon in the upper-right of the Browse area. Tap Edit.
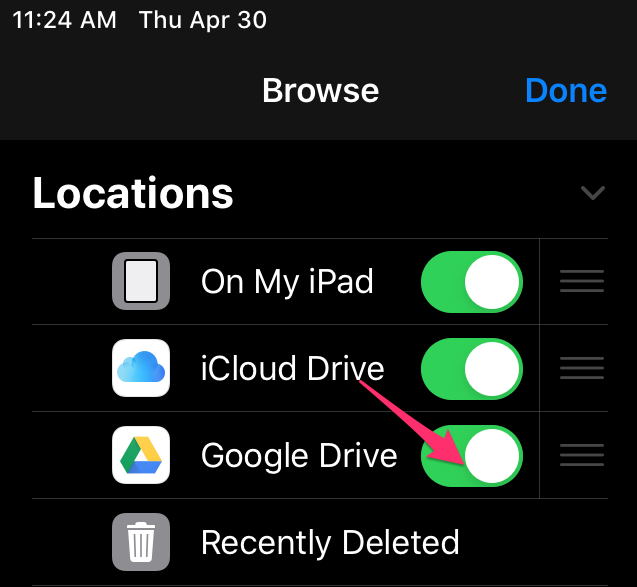
- Under Locations toggle Google Drive to On (if you're not seeing Google Drive as an option, take a look at step one). Tap Done.


Usage
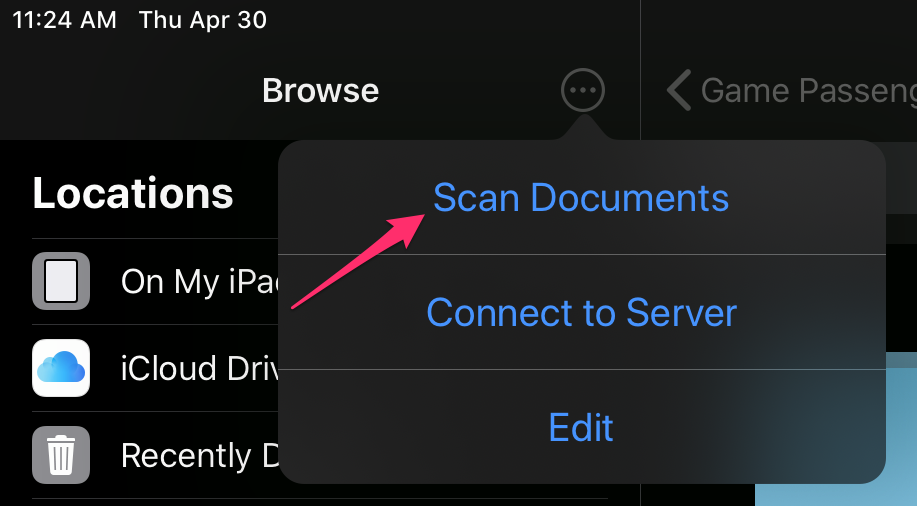
- Open the Files app and tap the ... icon, then tap Scan Documents
- Position your document in view of the camera. By default, the device will automatically capture the image when properly aligned. If you like, you can also tap the shutter button.
- Once you've scanned your desired documents, tap Save.
- Choose where to save your scanned documents.
- You're done!

Bonus tip: Tap on the thumbnail image of your document after scanning (but before saving) to adjust edges, change from colour to grayscale, and more: