What the heck is an HEIC file and how do I turn it into a JPEG?
You're probably familiar with the term JPEG — this file format has been around since the 1980's, and has been the most popular format for digital photos and images ever since.
These days, we carry incredibly powerful cameras in our pockets, and we take more photos than we ever have before. Better quality photos equate to larger file sizes, so a format from 30+ years ago probably isn't the most efficient way to store your photos.
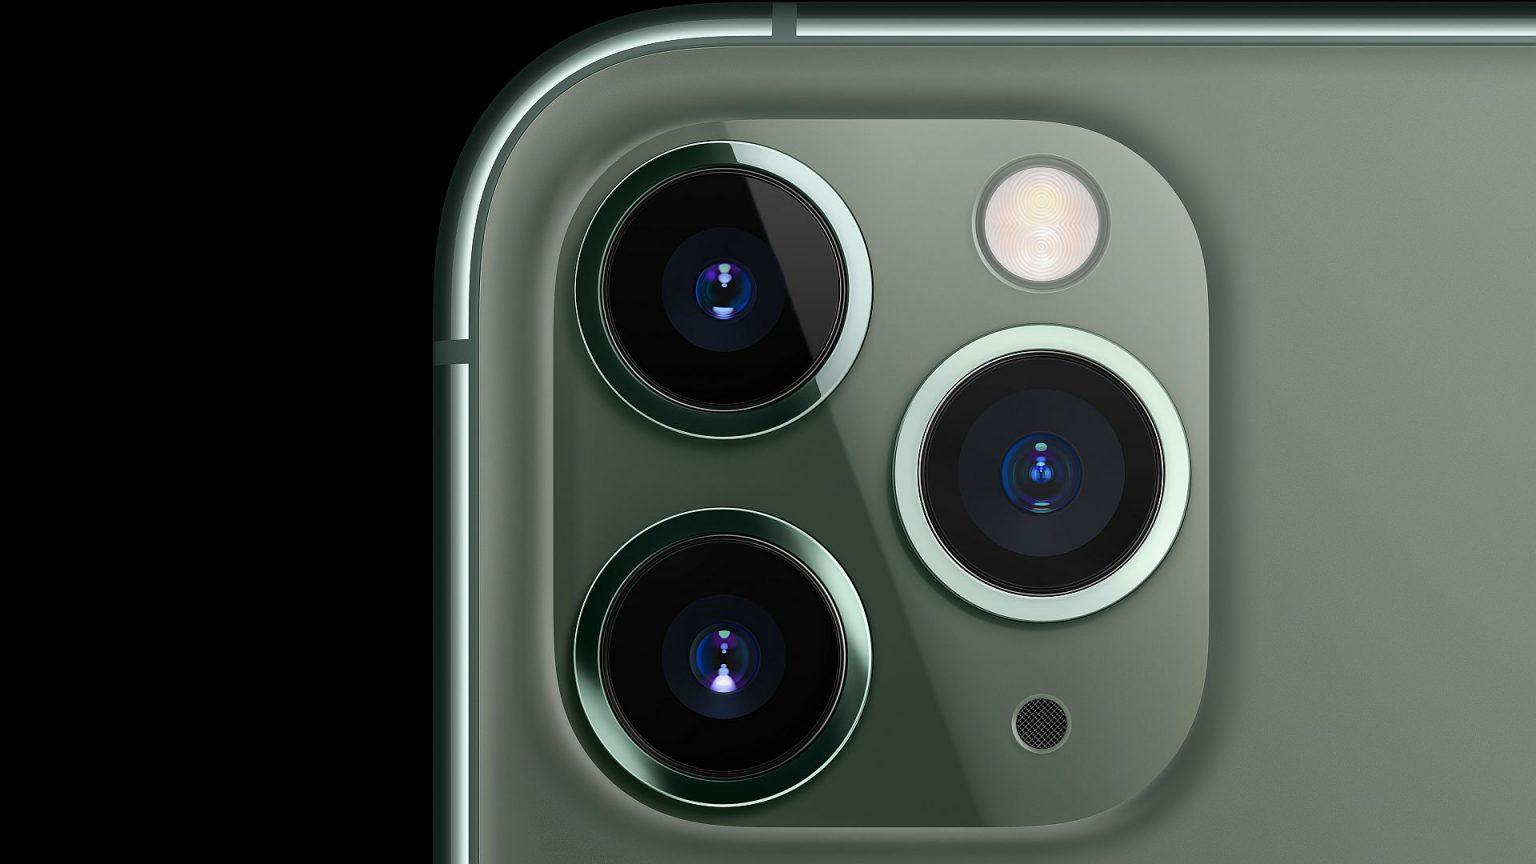
Image via Apple
Out with the old, and in with the new
Since late 2017, Apple mobile devices (along with many Android devices as well) have moved away from JPEG, and instead default to a format called HEIC, or High-Efficiency Image Container. Apple notes that this "technology lets you take new photos with the same quality as before but at half the file size. So, snap away."
Half the file size is pretty incredible. This not only means that you'll be able to store twice as many images as you could before (and that many, many more will fit within your precious iCloud storage limit) — it also means that these files will upload, download, and share much more quickly too!
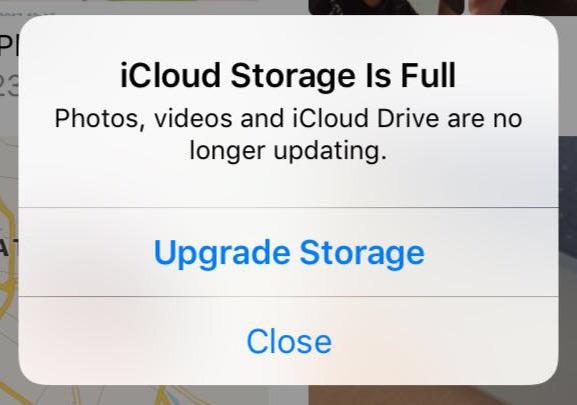
HEIC can help avoid this!
So what's the problem?
Usually, there isn't one — most modern devices and operating systems support HEIC files, so you generally don't need to worry about what type of image you're sending before you send it. Your devices are also usually pretty smart about sending the right type of file without any action on your part.
That said, because HEIC is a newer standard, some websites and services (for example, Google Sites) don't yet support HEIC. In this case, you'll need to convert your files to JPEG before they can be utilized.
So how do I convert images to JPEG?
If you have HEIC photos on your Mac that you need to convert to JPEG, there are a couple of fast ways to make this happen.
Right from Finder:
Thankfully, you can convert HEIC files to JPEG without needing to open an app at all! Here's how:
- Navigate to the .HEIC files that you'd like to convert.
- Select the files (you can do a bunch at once if you want).
- Right-click, and then choose Quick Actions > Convert Image
- Choose your format and image size (choose Actual Size to preserve quality), and then click Convert.

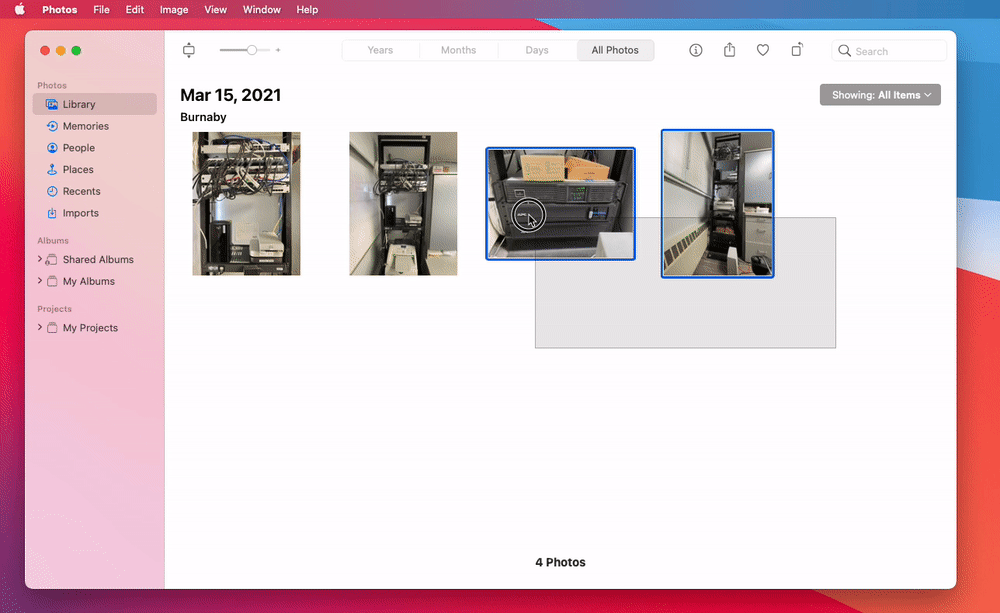
From the Photos app on your Mac:
If the photos are still in the Photos app on your Mac, you can re-export them as JPEG with the following steps:
In the Photos app
 on your Mac, select the item you want to export.
Choose File > Export > Export [number] Photos.
Make sure that JPEG is selected under 'Photo Kind', and then click Export.
Choose where on your computer you'd like the files to go.
Once exported, head to the chosen location to see your JPEGs.
What if I just want to shoot JPEG?
You totally can — just keep in mind that your device will only hold about half as many photos, and your iCloud storage will fill up much more quickly.
If you'd like your iPhone or iPad to take JPEG photos instead of HEIC, just head to Settings > Camera > Formats and switch from High Efficiency to Most Compatible. That's it.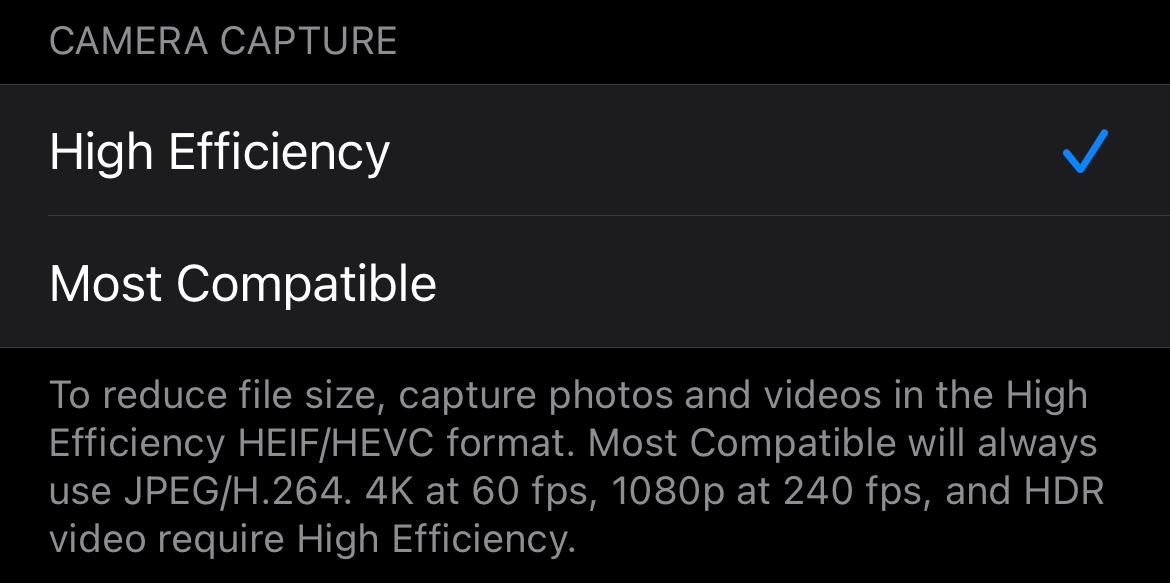
More resources:
- Using HEIF or HEVC media on Apple Devices — Apple Support